Automation Readout
The Automation Readout is a small chip with a number and a unit, attached to a line in a diagram by a short leader line. Use it to show a measurement that belongs to a pipe, a duct or a cable rather than to a device, such as a flow, a pressure or a current. It is found in the Automation - OpenBridge section of the Perspective Component Palette as Automation Readout (Experimental).
Note: This component is experimental: its properties may change in a later version.
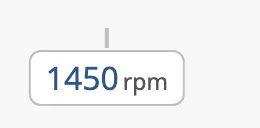
- Leader line — the short line from the chip towards the line in the diagram. See Position.
- Value — the number. See Value and Unit.
- Unit — the text after the number.
The readout shows the value it is given; it does not read tags itself. Bind
value to the measurement.
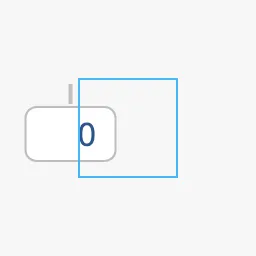
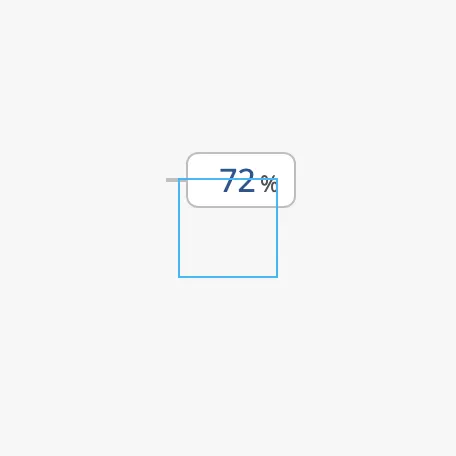
An Automation Readout dropped from the palette with default properties. The blue frame is the component’s box, as the Designer shows it when the component is selected; the readout is not drawn inside it (see Position):
For a reading with an icon, decimals, a trend graph or an alarm frame, use the Transmitter instead.
Value and Unit
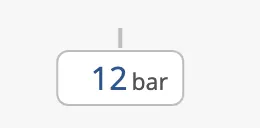
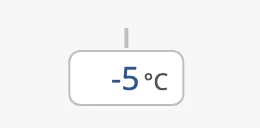
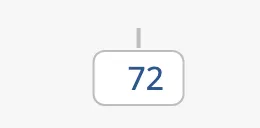
Section titled “Value and Unit”value is shown as a whole number: decimals are rounded away, so 12.34 is
shown as 12. unit is the text after the number; leave it empty to show
only the number.
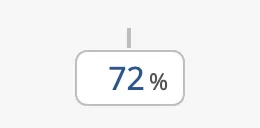
value = 72, unit = % |
value = 12.34, unit = bar |
value = -5, unit = °C |
unit empty |
|---|---|---|---|
 |
 |
 |
 |
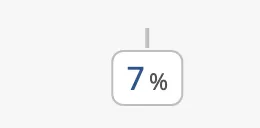
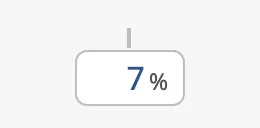
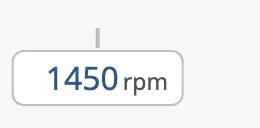
numberOfDigits is the number of digits the chip makes room for. A shorter
number leaves the room empty, so the chip keeps its width when the value
changes. Set it to the number of digits of the highest value.
value = 7, numberOfDigits = 1 |
value = 7, numberOfDigits = 3 (default) |
value = 1450, numberOfDigits = 5 |
|---|---|---|
 |
 |
 |
Properties
Section titled “Properties”| Name | Description | Property Type |
|---|---|---|
| value | The number to show. Shown without decimals. Default 0. |
value |
| unit | Text shown after the number, for example % or bar. Empty by default. |
value |
| numberOfDigits | Number of digits the chip makes room for. Default 3. |
value |
Position
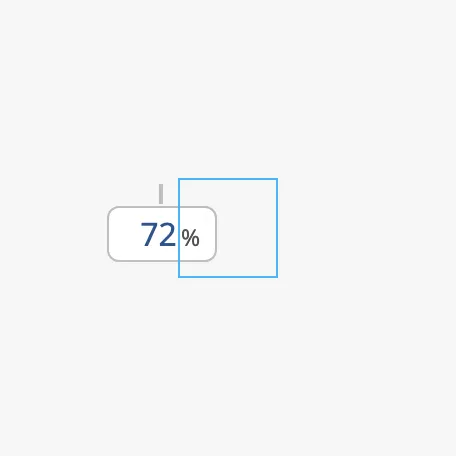
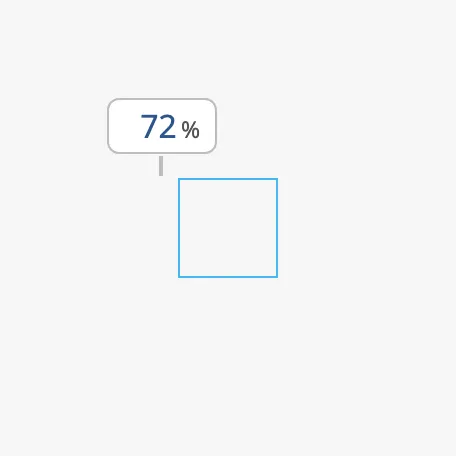
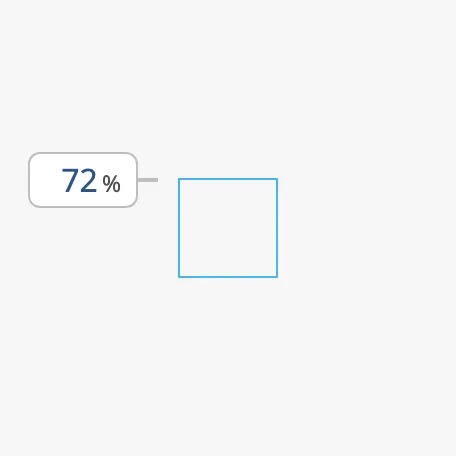
Section titled “Position”position selects on which side of the line the chip is: bottom places the
chip below the tip of the leader line, top above it, left to the left of it
and right to the right of it.
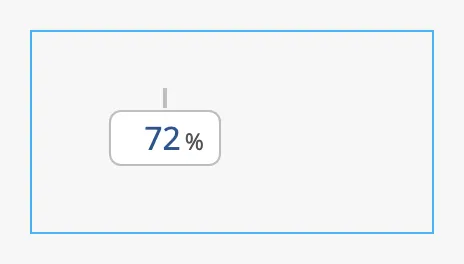
The readout is drawn from the tip of its leader line, and that tip is not the centre of the component’s box. It lies 24 px above the centre of the box, and half the width of the chip to the left of the centre. With the default 48 × 48 box, that is close to the top left corner of the box. The blue frame in the images is the component’s box:
| position | |
|---|---|
bottom (default) |
 |
top |
 |
left |
 |
right |
 |
In a larger box the readout moves with the centre of the box:
Because the tip depends on the width of the chip, it moves sideways when the
chip changes width. Keep the width constant with numberOfDigits, and check
the placement in the Designer with the longest unit text the readout will show.
Line Type
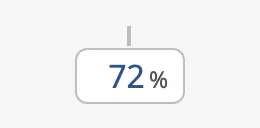
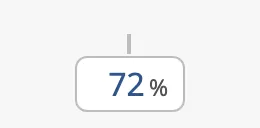
Section titled “Line Type”lineType tells what kind of line the readout is attached to. It only moves
the start of the leader line by half the width of that line, so that the leader
line starts at the edge of the line and not in its middle. electric and
connector give the same result.
fluid (default) |
electric |
air |
connector |
|---|---|---|---|
|
 |
 |
|
Properties
Section titled “Properties”| Name | Description | Property Type |
|---|---|---|
| position | Side of the line the chip is on: left, right, top or bottom. Default bottom. |
value |
| lineType | Kind of line the readout is attached to: fluid, electric, air or connector. Default fluid. |
value |
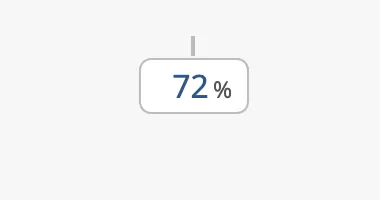
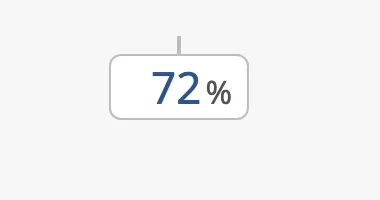
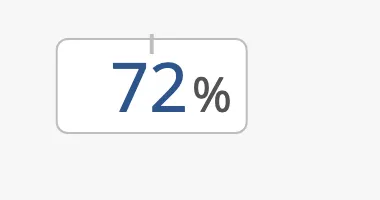
componentSize scales the whole readout, in the same steps as the
automation buttons:
regular |
medium |
large |
|---|---|---|
 |
 |
 |
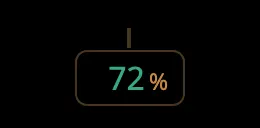
The colours follow the OpenBridge palette of the session:
Properties
Section titled “Properties”| Name | Description | Property Type |
|---|---|---|
| componentSize | Size of the readout: regular, medium or large. Default regular. |
value |
| style | Standard Perspective style object. | object |
Component Events
Section titled “Component Events”The Automation Readout has no component events of its own. The standard
Perspective events, such as onClick, are available in the component’s event
configuration.
Examples
Section titled “Examples”Example 1 — Flow on a Pipe
Section titled “Example 1 — Flow on a Pipe”-
Drop an Automation Readout into the coordinate container of the diagram.
-
Set:
Property Value unit m³/hnumberOfDigits 3position bottomlineType fluid -
Bind
valueto the flow, for example[default]Pump01/Flow. -
Move the component until the tip of the leader line touches the pipe. The tip is near the top left corner of the component’s box, not in its centre.
Found an error or something unclear?
Tell us what is wrong, confusing or missing on this page.
Built on the OpenBridge Design System